How to add Hall Locations and configure Tables in my restaurant

You can easily configure your restaurant hall names and tables with your Gleeca restaurant management application. You need to go to the menu from your dashboard and click on branches. Select the manage button of the branch where you wish to configure hall names and tables. Then click Tables from the list of options you see.
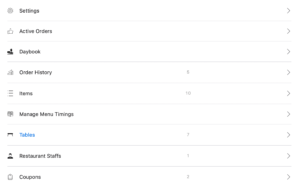
You will see three tabs: Tables, Table Locations, and Waiters Map.

First, go to table locations and create the halls you have in your restaurants. For example, Family Room, VIP Room, AC Hall, Main Hall, etc. Just give the name of your hall and click Create button. You shall create as many locations as possible.
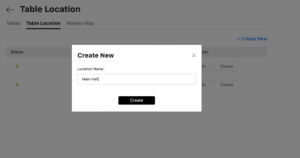
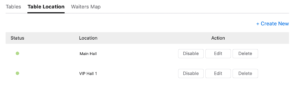
As we created the hall names (location), it’s time to configure tables for each location.
Go to the tables tab and click the “create new” button. Then, you will get a popup as below.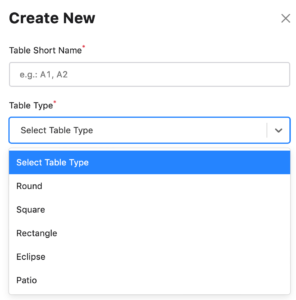
Give a name or number to the table, and select table type. Table type refers to the shape of the table. Enter the table capacity, which is the maximum number of people who can eat at the table simultaneously.
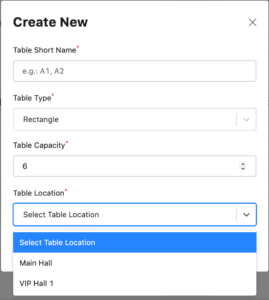
Then select the table location, the hall name where the table is kept, and click the create button. Finally, you have successfully created a table and mapped it under a hall of your restaurant.